

An Easy How-to for Dried Orange Garlands
This was my first time to create Dried Orange Garlands to add to my Christmas decorations, but it won’t be my last. The smell is heavenly and I’m a longtime fan of bringing natural elements inside. This project was fun. I gathered my components, spent a little time, and voila! Lean in, and I’ll show you.
Gather:
4-5 Oranges
Burlap strips for bows
Fishing wire or twine
Greenery
White lights *optional
Cinnamon sticks *optional
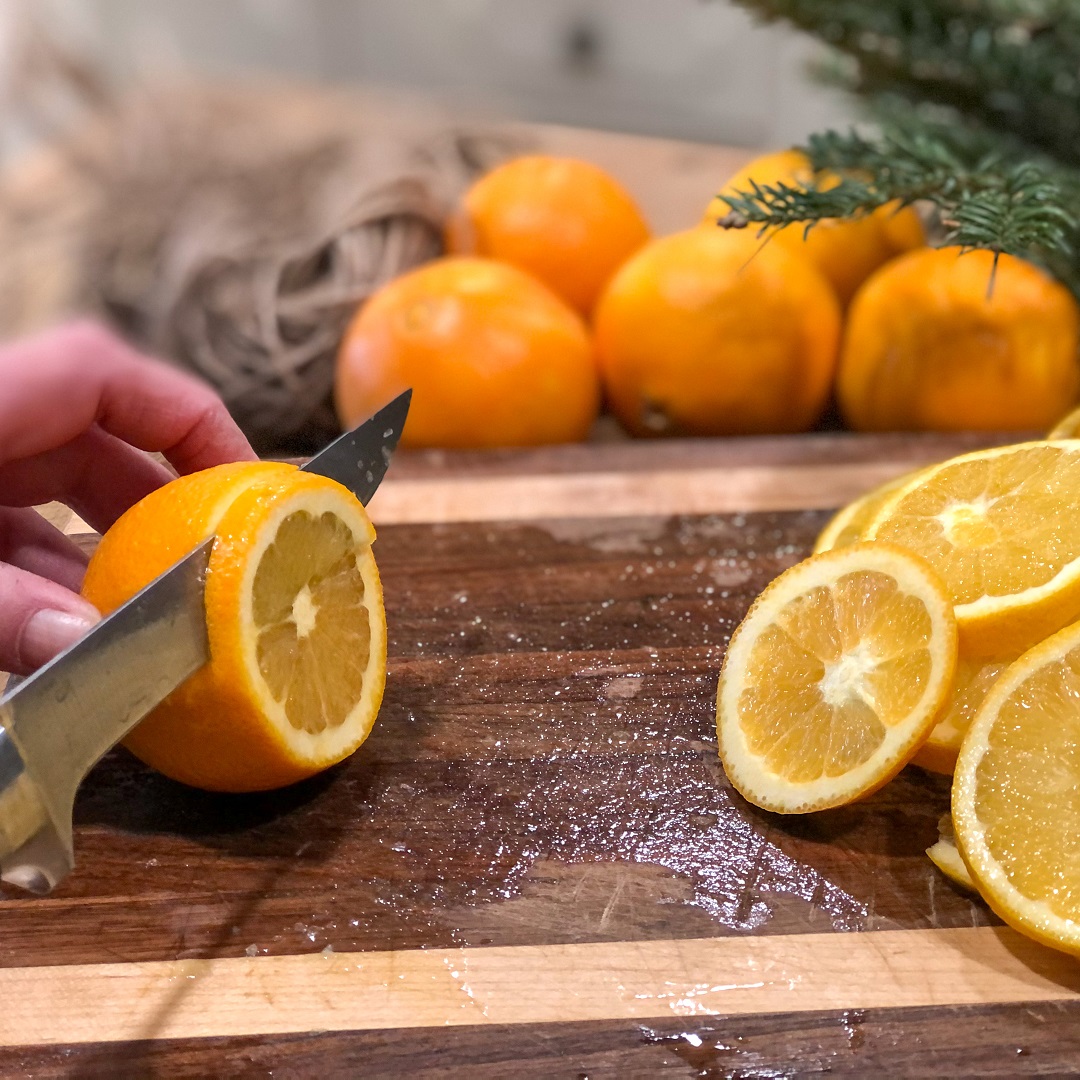
Preheat oven to 250 degrees. Slice oranges thinly (mine are roughly ¼ inch) and place on parchment lined cookies sheets. Tip: You want all your slices to be as close to uniform thickness as possible to help them dry evenly without burning the thinner fellows!

I used 4-5 oranges and I had enough for this garland, and extras to add to my tablescapes. Bake until the oranges dry out and turn slightly brown. Keep in mind that oven temps vary. Mine reached this stage at 5 hrs.

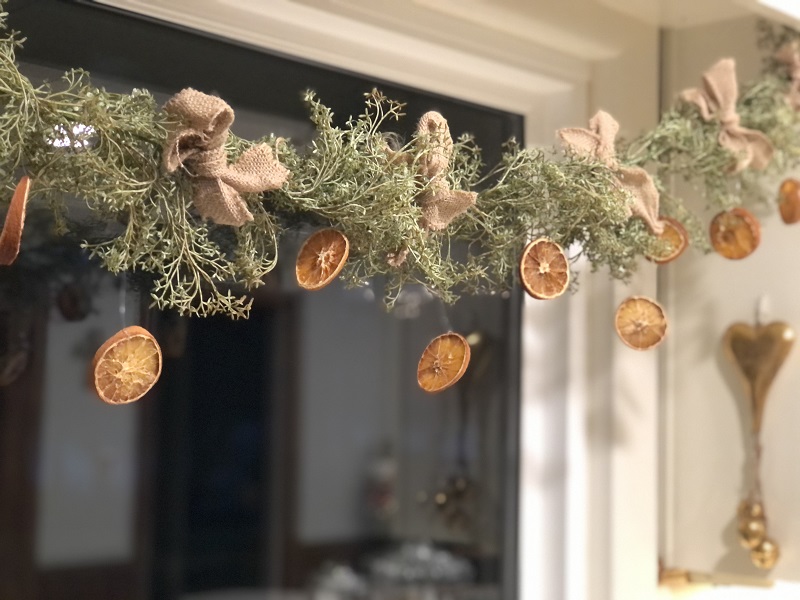
Let the slices cool completely. To assemble garland, use varying lengths of fishing wire or twine to tie them to your garland. The wire will slip easily through the fruit. Don’t try and get it through the rind. (Experience speaking.) Cut burlap into 12” to 16” strips and tie bows in and around the orange slices. This is when you can also add your cinnamon strips. I chose to leave them off of my garlands, but I did add them along with some of my orange slices to a potpourri bowl! Makes a beautiful sweet-smelling presentation. You can also add battery operated white lights to your garlands if you’d like. I wanted to keep my garland a bit lighter, but I added white lights to my tablescape.
Have fun and Merry Christmas crafting to you and yours~
Hugs, Shellie
Merry Christmas Catchup from our home to yours!
Hello friend, So much has happened since I wrote to y'all. It's hard to imagine

Merry Christmas from my house to yours
Merry Christmas, friend! I'm not naive enough to expect any of you fine people

A Christmas Story for my friends
Hello friend, I've been trying to snag time to write to this sweet community