Sourdough Starter and Friendship Bread Basics
Sourdough Starter and Friendship Bread Basics
The first thing you need to know is that I’m a newbie when it comes to bread making. As I said in another post. I haven’t made bread before because…grocery stores. But one of the things I’ve been challenging myself with during our sheltering in place season has been trying to new things, things that seemed daunting, things I wouldn’t normally do for love or money. Enter Sourdough.
My older sister, Rhonda, has made bread for years, and she helped walk me through it. And yes, it seemed like a lot of hassle, initially, but everything changed when the smell of homemade bread baking in my oven began wafting out of our kitchen! Color me converted.
I’m going to try and share the process with y’all, as simply as I can. If it seems too simple to you, please bear in mind I’m writing for people like moi, who may be true novice kneaders!
Step one, make your starter!
Sourdough Bread Starter Ingredients:
1 pkg. original yeast (not quick rise or rapid yeast!)
1 cup sugar
1 cup warm water
6 tbsp. potato flakes (instant potatoes, y’all)
1-quart size jar
foil
Put all ingredients in a wide mouth glass quart jar. (I’m sure you can use other kinds of jars and different sizes, but my intention here is to get the exact steps down for you that I used because ambiguity can mess with a belle who is trying new things.) Stir the ingredients just until it’s well blended and cover with a piece of foil. Poke 3-4 holes in the top of the foil. Leave your start on the counter for 12 hours. Afterwards, place it in the refrigerator for 3-5 days. (The 3-5 day time frame is to leave you some flexibility, should your schedule require it. For the remainder of this post, I will use 3 day increments, again in an effort to make it simple for you, the reader.) On the third day after you have stirred up your initial starter, take it out of the fridge and feed it. (Yes, you have a new pet. Name him or her if you’d like, but stay with me.) To feed your starter, take one cup of warm water and mix in ¾ cup sugar and 3 tablespoons of instant potatoes. Stir this “feed” and then stir the feed into your starter until blended. Let it stand on the counter top for 8-12 hours before putting it back into the fridge. (Take note, this will become a pattern. Feed, rest on countertop, return to fridge.) Three days later take your starter out, feed it, leave it on the counter for 8-12 hours and return it to the fridge. The third time you take it out of the fridge to feed it, you’ll leave it on the countertop for 8-12 hours, and voila! This time at the end of your 8-12 hours, the actual bread making is about to begin.
Sourdough Bread
Ingredients:
butter
½ cup sugar
½ cup oil
1 tsp. salt
1 cup room temperature starter (Should be at room temp because you fed it 8-12 hours before and left it out of the fridge. Once you’ve taken your cup out, return it to the fridge.)
1 and ½ cups warm water
Plastic wrap
6 cups all purpose flour (The original recipe called for bread flour, so use that if you’d like. But— my bread making expert (sister Rhonda) told me I could use all purpose. She was right, of course.)
Ready? Good deal. Combine all of these ingredients in a large mixing bowl, beginning with your dry ingredients first. (I stirred my starter before measuring out a cup.) Once these ingredients are all blended, you’ll have a rather rough looking ball of dough. Don’t fret and remember what your mama told you. Appearances can be deceiving. Prepare a second large mixing bowl for your dough by greasing it well with vegetable oil. Take your rough ball of dough and put it in the greased mixing bowl. Now, pick it up and turn it over. The top of your dough ball should look oily. Yay! You’ve got this. Cover the mixing bowl tightly with plastic wrap and leave it on the counter for 8-12 hours. Repeat. Do not refrigerate.
Once it has set out 8-12 hours it’s time to show this bread who the boss is here. Note, your bread may not have doubled in size, or even grown enough for you to really tell that it’s larger. Don’t fret. It will during the next step. At this point other recipes will tell you to punch the dough down and knead it. If, like me, you will wonder if you should punch it like it stole a plank off the White House, or punch it like you’re tapping someone playfully on the shoulder, allow me to elaborate. You’re just punching the bread down to basically get the air out of it, okay? So, take your little fist and punch straight down into the bread a couple times. Now, take your dough out and set it on a lightly floured surface and divide it into three equal parts. Knead each section, three or four times per section should be enough. You’re done. The bread has gotten the message.
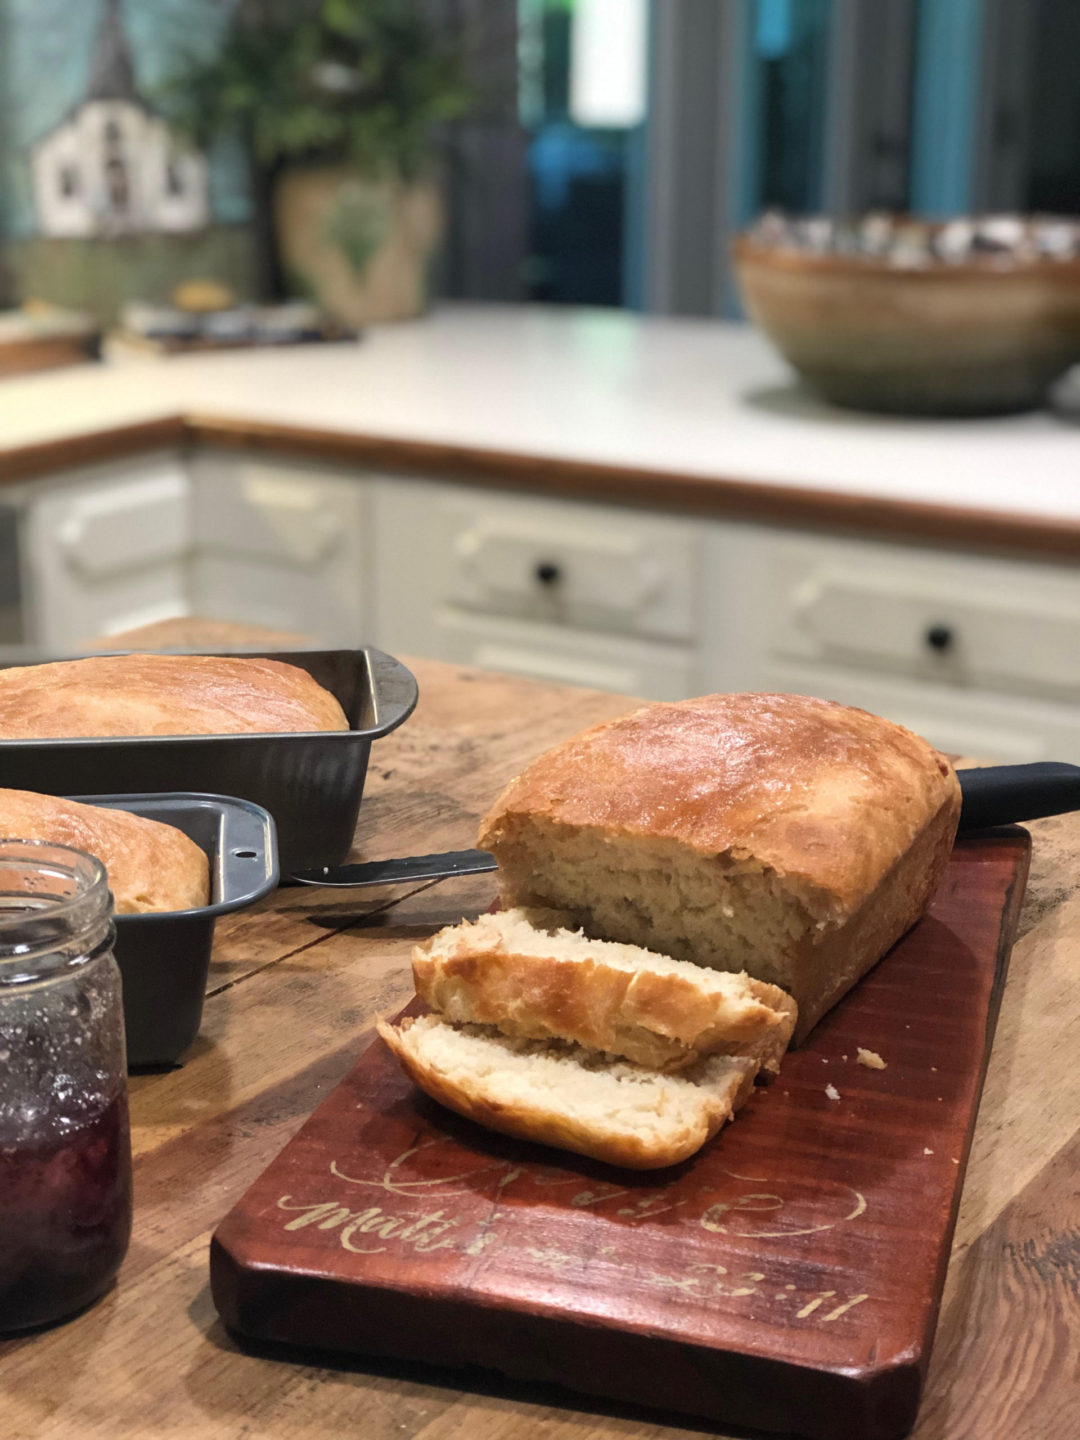
Grease three loaf pans with butter. Lightly shape dough balls into oblong size before placing them into the pans. Pat a little vegetable oil across the top of the dough and cover loosely with plastic wrap. Let it rise for twelve hours. Bake at 350 for thirty to forty minutes. Remove and brush with butter. If you’re not going to devour it immediately (who would do that?), let it cool completely before putting it in the fridge. You can also freeze it. (Again, who would do that after all of this? Not me!)
Okay, folks. There are plenty of sourdough starter and bread recipes out there that will give you all kinds of variations. This is the process I used, and it was, and is, delicious! (Many thanks to sister Rhonda Arlene for ALL the patient mentoring.) Enjoy~
Hugs,
Shellie
P.S. Once you’ve made bread, you’ll simply repeat the process. In 3 days, you’ll get your starter out of the fridge, stir it, feed it, and leave it on the counter for 8-12 hours before making bread. If you don’t want to make bread within 3 (or 5 days), give a cup of the starter to a friend, or throw it away. (Gasp! Please don’t.) That’s why it’s called Friendship Bread!


